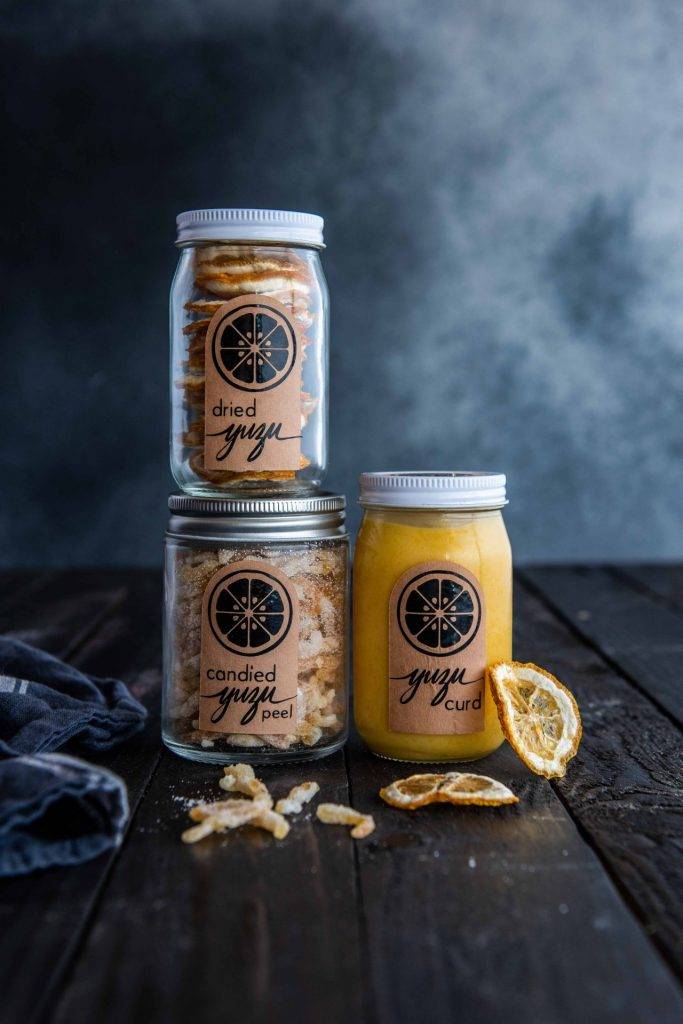
It's been 9 months since my last post. I know this because my last post was a Yuzu citrus recipe and Yuzu season has come back around again. I'm not worried that I don't post here often. This space was always just for me really. I never wanted to monetize Chew Town nor did I want the pressure to continue posting here if I didn't have capacity.
So I suppose I should fill you in on where I've been. A number of years ago I started a food photography business and it has grown exponentially until I have had no capacity for anything else. A year ago I moved into a commercial food photography studio here in Sydney and things really exploded. To keep up with demand and grow the business further I … [Read more...]
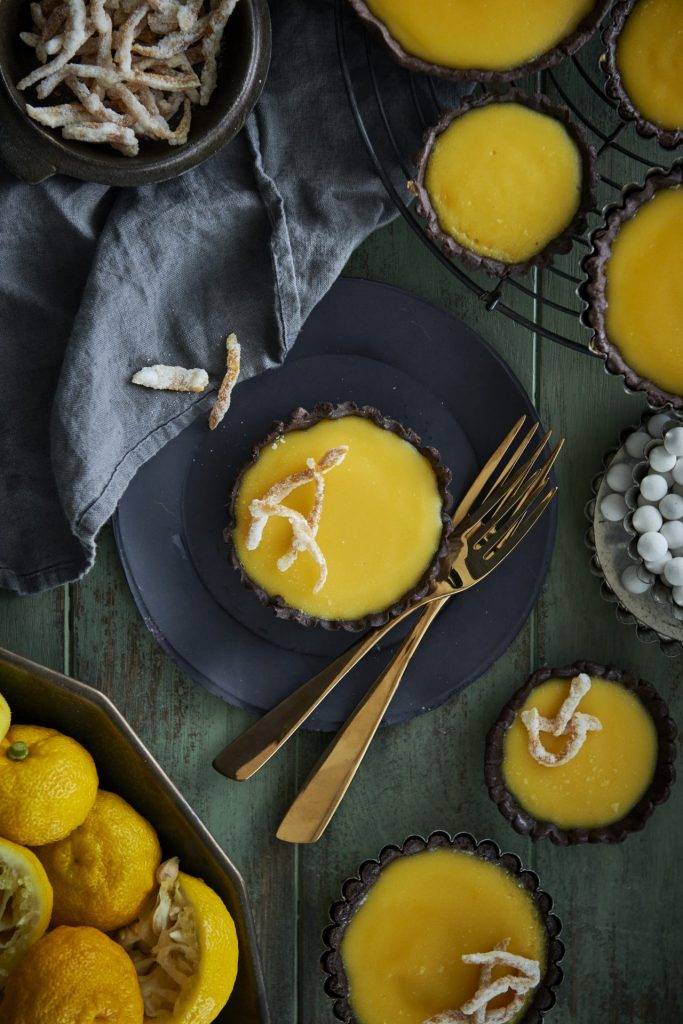
Yuzu Chocolate Tart